
This post may contain affiliate links. Please read our disclosure policy.
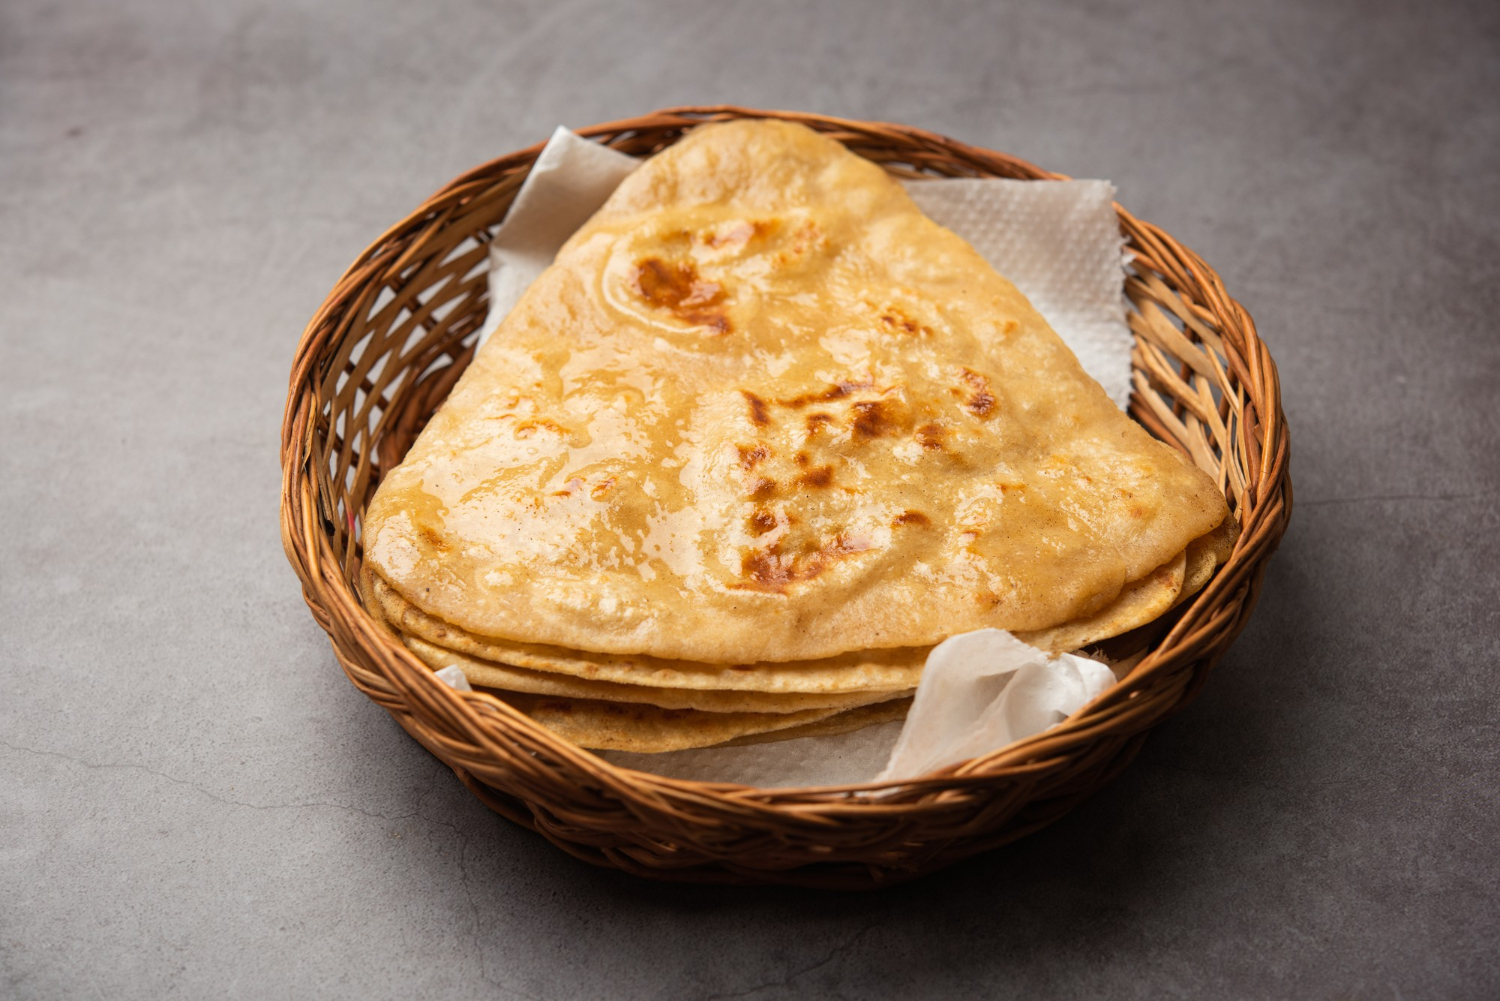
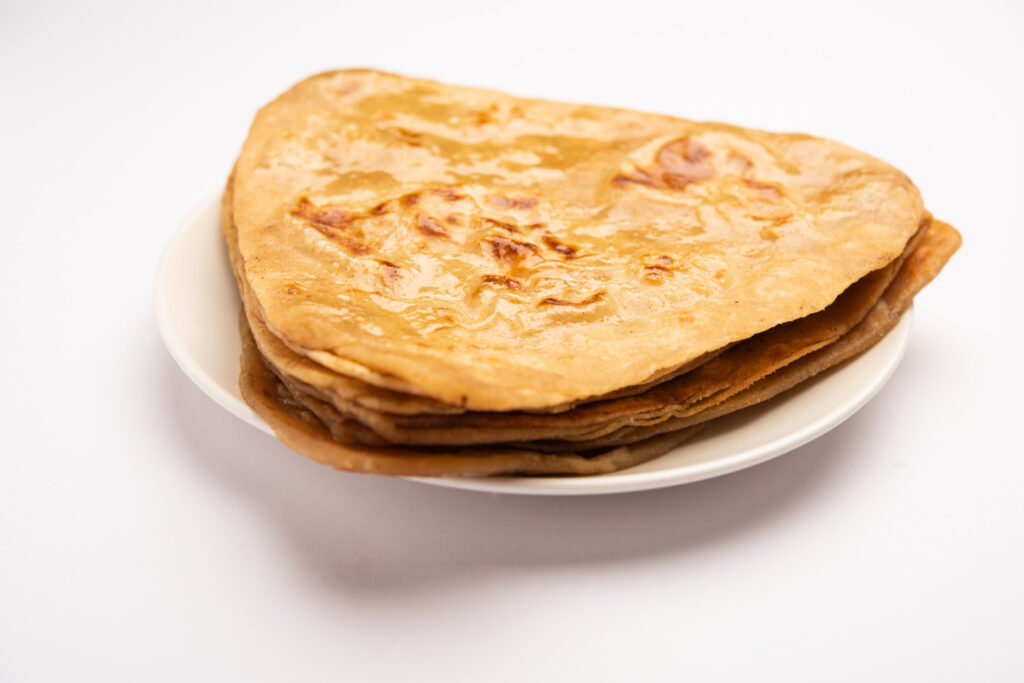
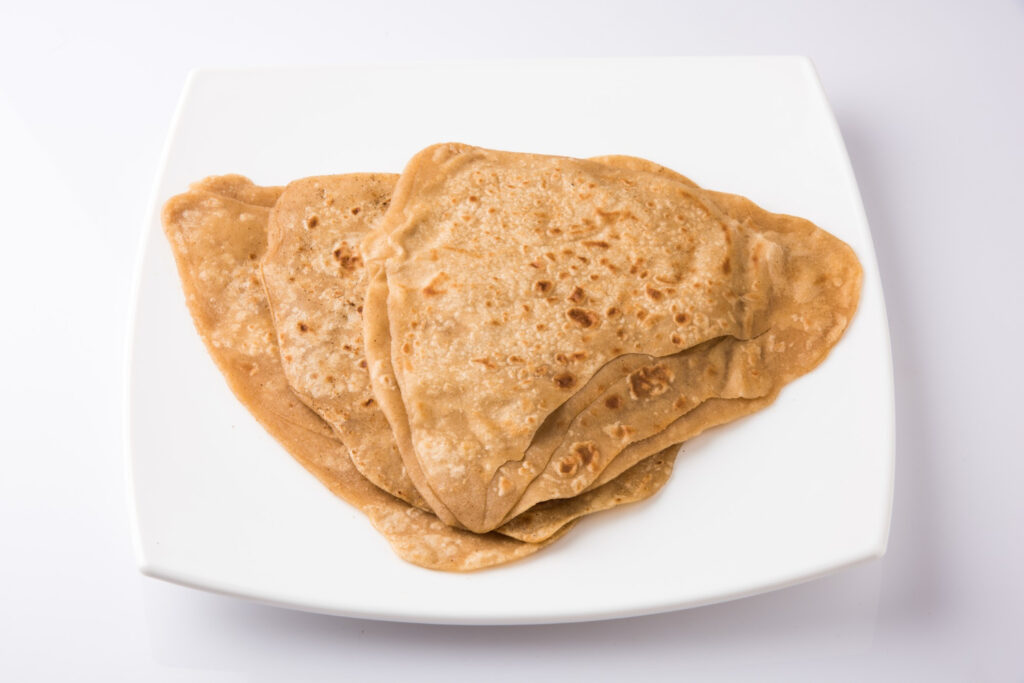
Parathas or Chapatis are a staple in Indian cuisine, loved for their simple yet delicious taste and easy preparation. These flatbreads, made with whole wheat flour, are a favorite in many households due to their comforting flavor and versatility. Crafting them at home is a straightforward process that begins with making a soft dough by hand. Once shaped and flattened, the dough is folded multiple times to create layers, resulting in a crispy exterior and a soft, flaky interior.
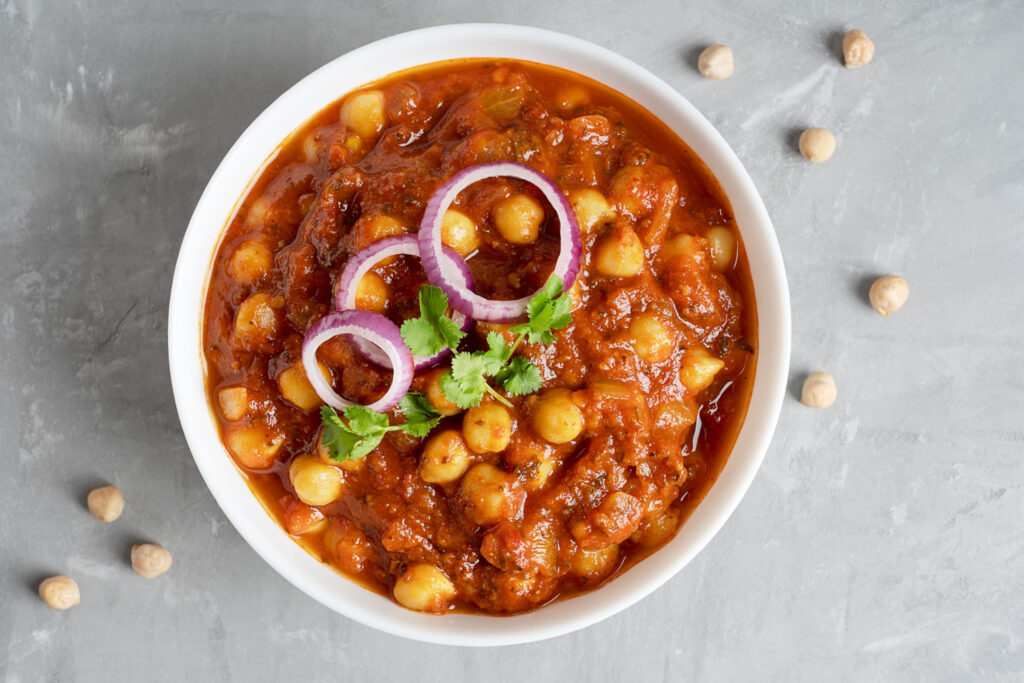
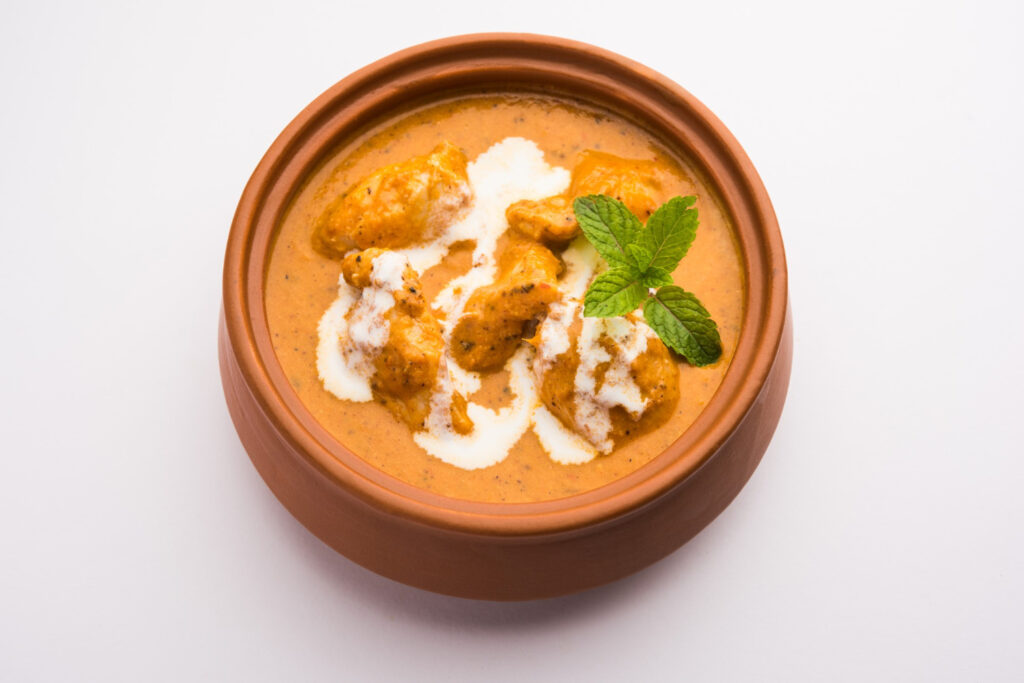
This classic paratha recipe holds a special place in my kitchen, especially when I’m cooking up rich gravy dishes like Paneer Butter Masala, Chana Masala, Dal Makhani, or Shahi Paneer. The layers of the paratha add a satisfying texture that pairs perfectly with these flavorful mains.
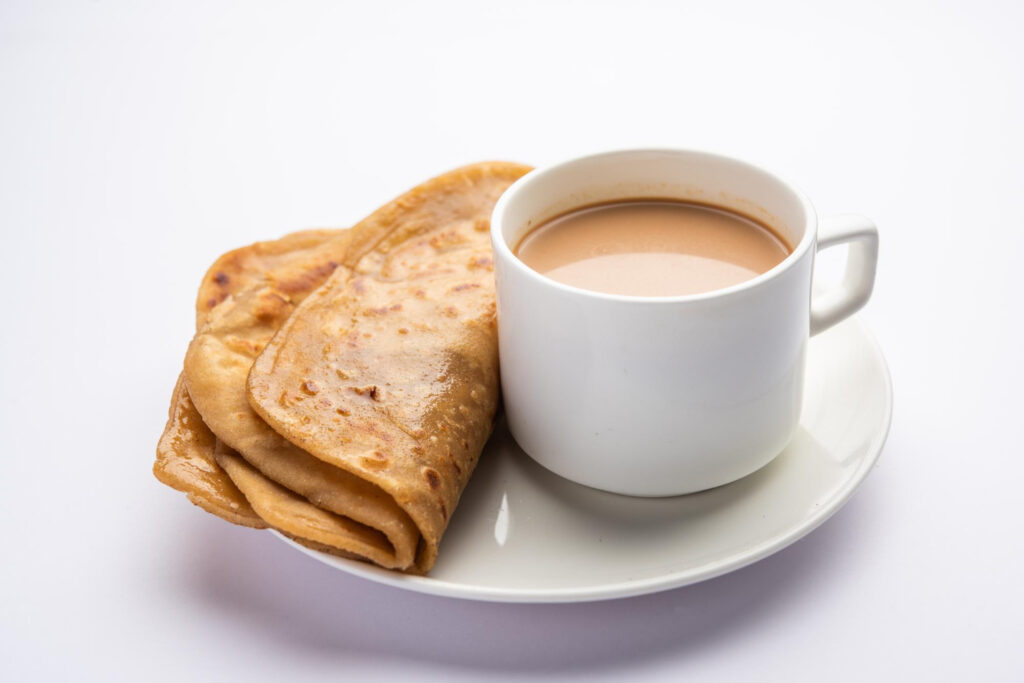
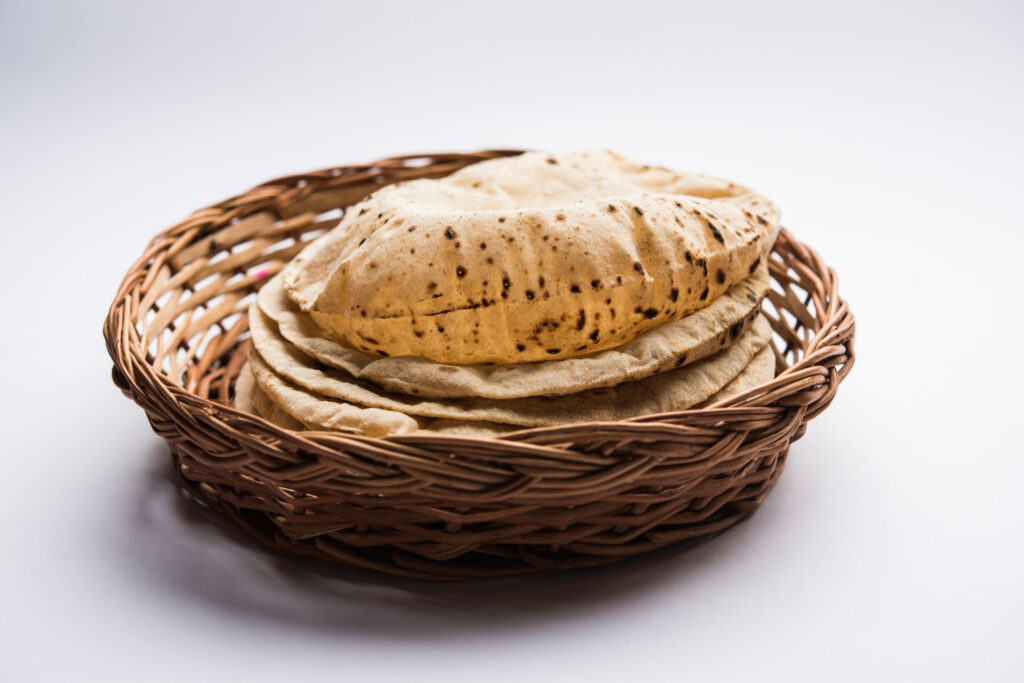
But Chapatis aren’t just for curries – they’re also delicious on their own or paired with a comforting cup of tea. I often enjoy snacking on parathas with a dollop of Mango Pickle or other condiments like fruit jam. Their simplicity and versatility make them a beloved favorite in Indian households, bringing comfort and satisfaction with every bite.
Ingredients
whole wheat flour, Water, ghee or oil, Salt.
Recipe Instructions
Prepare the Dough:
- In a large mixing bowl, add 2 cups of whole wheat flour and a pinch of salt.
- Gradually pour water into the bowl while kneading the flour with your hands.
- Continue kneading until the flour comes together to form a rough dough.
- If the dough feels too dry, add a little more water, a tablespoon at a time, until it reaches a soft and pliable consistency.
- Knead the dough on a clean, floured surface for about 5-7 minutes until it becomes smooth and elastic.
- Once kneaded, cover the dough with a damp cloth or plastic wrap and let it rest for 15-20 minutes. This resting period allows the gluten to relax, making it easier to roll out the dough later.
Divide and Roll:
- After resting, uncover the dough and knead it briefly to remove any air bubbles.
- Divide the dough into equal-sized balls, roughly the size of golf balls.
- Take one ball of dough and flatten it slightly with your hands.
- Dust the flattened dough ball with flour and place it on a clean, floured surface.
- Using a rolling pin, roll out the dough into a thin, round disc, rotating it occasionally to ensure even thickness.
- If the dough sticks to the surface or rolling pin, sprinkle more flour as needed to prevent sticking.
Layer with Ghee:
- Once the dough is rolled out, spread a thin layer of ghee or oil evenly over the surface of the dough using a brush or your fingertips.
- This step adds flavor and helps keep the parathas moist during cooking.
Fold and Roll Again:
- Fold the dough over itself to form a semi-circle.
- Then, fold it again to create a triangular shape.
- Gently roll out the triangular dough into a larger triangle, maintaining an even thickness throughout.
- Take care not to press too hard while rolling to avoid tearing the dough.
Cook the Parathas/Chapati:
- Heat a skillet or tawa over medium heat until hot.
- Carefully transfer the rolled-out paratha onto the hot skillet.
- Cook the paratha for about 1-2 minutes on one side until small bubbles start to appear on the surface.
- Flip the paratha using a spatula and cook for another 1-2 minutes on the other side until golden brown spots appear.
- Brush the surface of the paratha with ghee or oil while cooking to enhance flavor and prevent it from drying out.
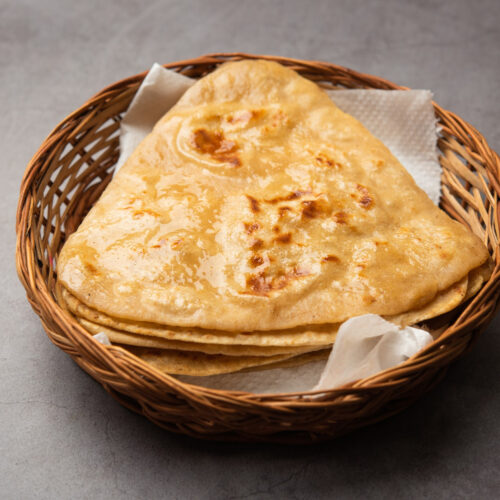
- Continue cooking the remaining dough balls in the same manner, stacking the cooked parathas on a plate and covering them with a clean kitchen towel to keep them warm.
Serve:
- Once all the parathas are cooked, transfer them to a serving plate.
Serving Suggestions
- Enjoy plain Parathas or Chapatis with classic accompaniments like butter, yogurt, or pickles.
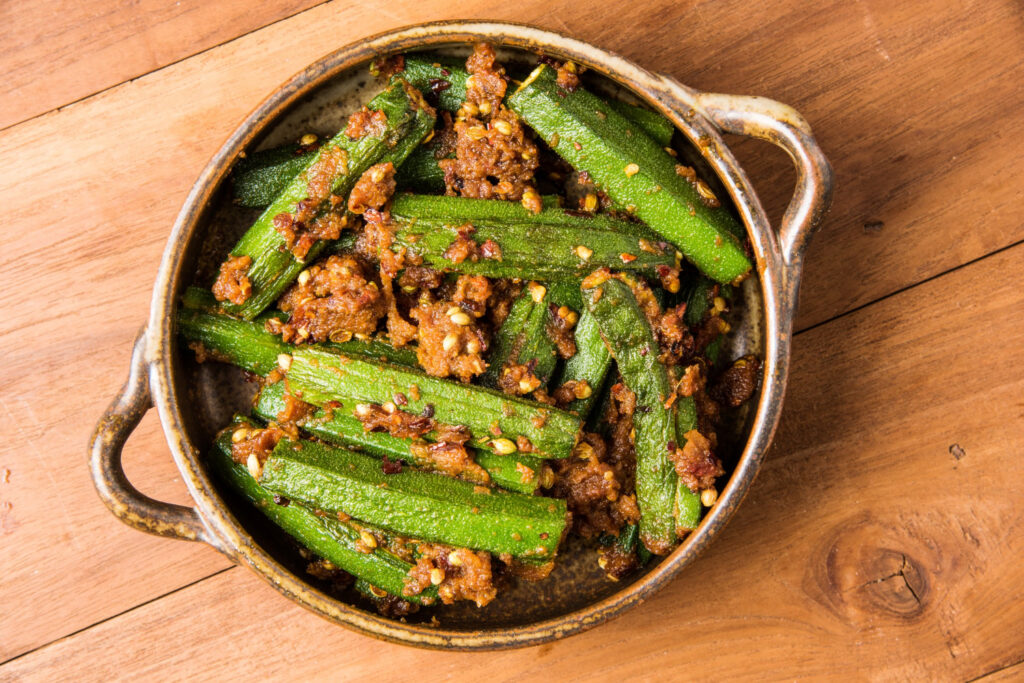
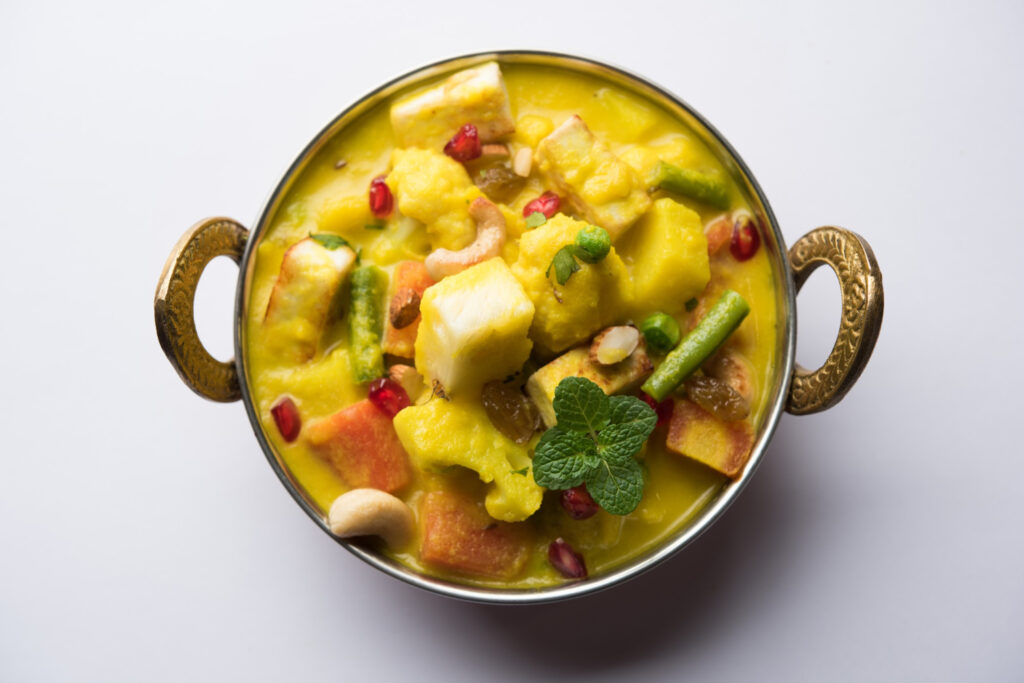
- Pair them with a variety of curries such as Butter chicken, Chana Masala, Navratan Korma or Bhindi Masala for a complete meal.
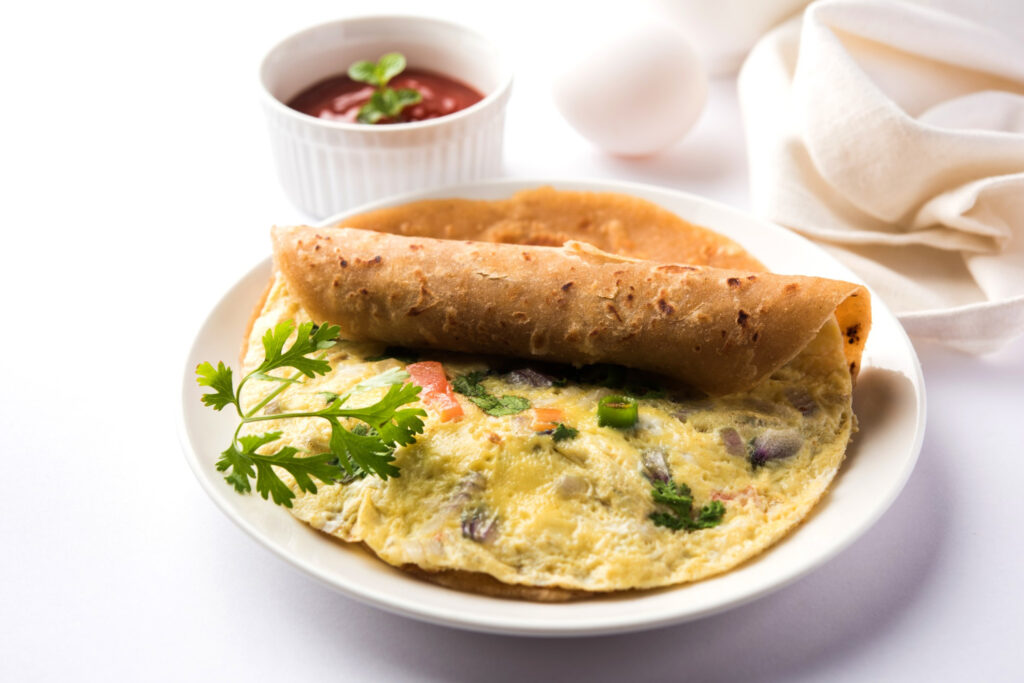
- They also make a delicious breakfast option when served with scrambled eggs or egg omelet or even chai.
Tips and Tricks
- For softer parathas, use milk while kneading the dough.
- Adding a little ghee or oil to the dough and while cooking enhances the flavor and texture.
- Don’t skip the resting time for the dough, as it allows the gluten to relax and makes rolling easier.
- Adjust the thickness of the parathas according to your preference, but thinner parathas tend to cook more evenly.
- If you prefer a flakier texture, you can layer the parathas by brushing them with ghee or oil and folding them multiple times before rolling them out.
- Experiment with different fillings such as mashed potatoes, paneer, or minced vegetables to create stuffed parathas.
- To make gluten-free parathas, you can use a combination of gluten-free flours such as chickpea flour (besan) or rice flour along with a binding agent like xanthan gum.
Meal Prep Tips
- You can make and refrigerate or freeze the dough for future use. You can refrigerate the dough for upto 4-5 days, while freeze the dough for upto a month. Just thaw the required amount of dough in the fridge for about 12-14 hours.
- Alternatively the parathas can be refrigerated and frozen for the same duration. To heat up, directly place the paratha on the hot tawa and flip to warm it.
FAQs
Q: Can I use all-purpose flour instead of whole wheat flour?
A: While whole wheat flour is traditionally used for plain parathas, you can substitute all-purpose flour if needed. However, the texture and flavor may vary slightly.
Q: How do I store leftover parathas?
A: Plain parathas can be stored in an airtight container in the refrigerator for up to 2-3 days. Reheat them on a skillet or microwave before serving.
Q: Can I freeze plain parathas for later use?
A: Yes, you can freeze plain parathas for up to a month. Stack the cooked parathas with parchment paper in between to prevent sticking, then wrap them tightly in plastic wrap or aluminum foil before placing them in a freezer-safe bag or container. To reheat, thaw them in the refrigerator overnight and then heat them on a skillet or microwave until warmed through.
Q: What can I do if my parathas turn out too dry?
A: If your parathas turn out too dry, you can brush them with a little ghee or butter after cooking to add moisture and flavor. Alternatively, serve them with a side of yogurt or raita to balance out the dryness.
Q: How do I prevent my parathas from becoming too crispy?
A: To prevent your parathas from becoming too crispy, avoid rolling the dough too thin, as thicker parathas tend to stay softer and more tender.
Other Recipes
Plain Paratha | Chapati
Ingredients
- 2 cups whole wheat flour
- Water as needed
- 1 tablespoon ghee or oil
- Salt to taste
- Extra flour for dusting
Instructions
- In a large mixing bowl, combine the whole wheat flour and a pinch of salt. Slowly add water while kneading until a smooth and pliable dough forms. Knead for about 5-7 minutes until the dough is soft and elastic. Cover the dough and let it rest for 15-20 minutes.
- After resting, divide the dough into equal-sized balls, roughly the size of golf balls. Dust each ball with flour and roll it out into a thin, round disc using a rolling pin.
- Spread a thin layer of ghee or oil over the rolled-out dough.
- Fold the dough into a semi-circle, then fold it again to form a triangle. Roll it out gently once more to flatten it into a triangular shape.
- Heat a skillet or tawa over medium heat. Place the rolled-out paratha onto the hot skillet and cook for about 1-2 minutes on each side until golden brown spots appear, brushing with ghee or oil as needed.
- Once cooked, transfer the plain parathas to a plate and serve hot with your favorite curry, chutney, or yogurt.
Notes
-
- Enjoy plain Parathas or Chapatis with classic accompaniments like butter, yogurt, or pickles.
- Pair them with a variety of curries such as Butter chicken, Chana Masala, Navratan Korma or Bhindi Masala for a complete meal.
- They also make a delicious breakfast option when served with scrambled eggs or egg omelet or even chai.
- For softer parathas, use milk while kneading the dough.
- Adding a little ghee or oil to the dough and while cooking enhances the flavor and texture.
- Don’t skip the resting time for the dough, as it allows the gluten to relax and makes rolling easier.
- Adjust the thickness of the parathas according to your preference, but thinner parathas tend to cook more evenly.
- If you prefer a flakier texture, you can layer the parathas by brushing them with ghee or oil and folding them multiple times before rolling them out.
- Experiment with different fillings such as mashed potatoes, paneer, or minced vegetables to create stuffed parathas.
- To make gluten-free parathas, you can use a combination of gluten-free flours such as chickpea flour (besan) or rice flour along with a binding agent like xanthan gum.
-
- You can make and refrigerate or freeze the dough for future use. You can refrigerate the dough for upto 4-5 days, while freeze the dough for upto a month. Just thaw the required amount of dough in the fridge for about 12-14 hours.
- Alternatively the parathas can be refrigerated and frozen for the same duration. To heat up, directly place the paratha on the hot tawa and flip to warm it.
Did you make this recipe?
Please let me know how it turned out for you! Leave a comment below and tag @amusingcooker on Instagram and hashtag it #amusingcooker.