
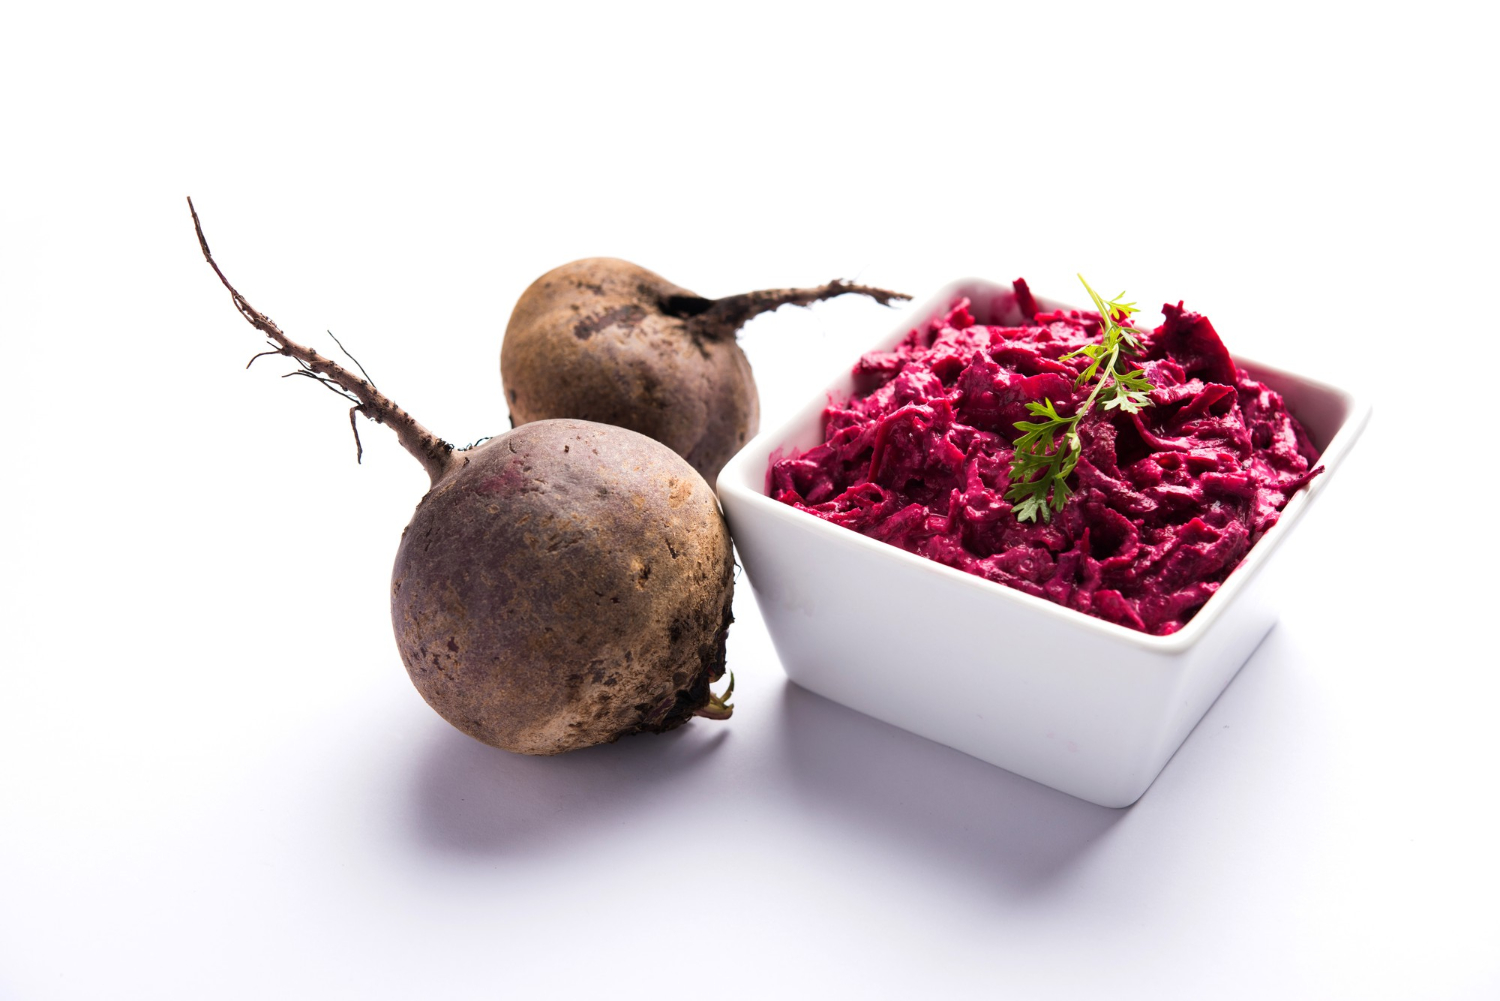
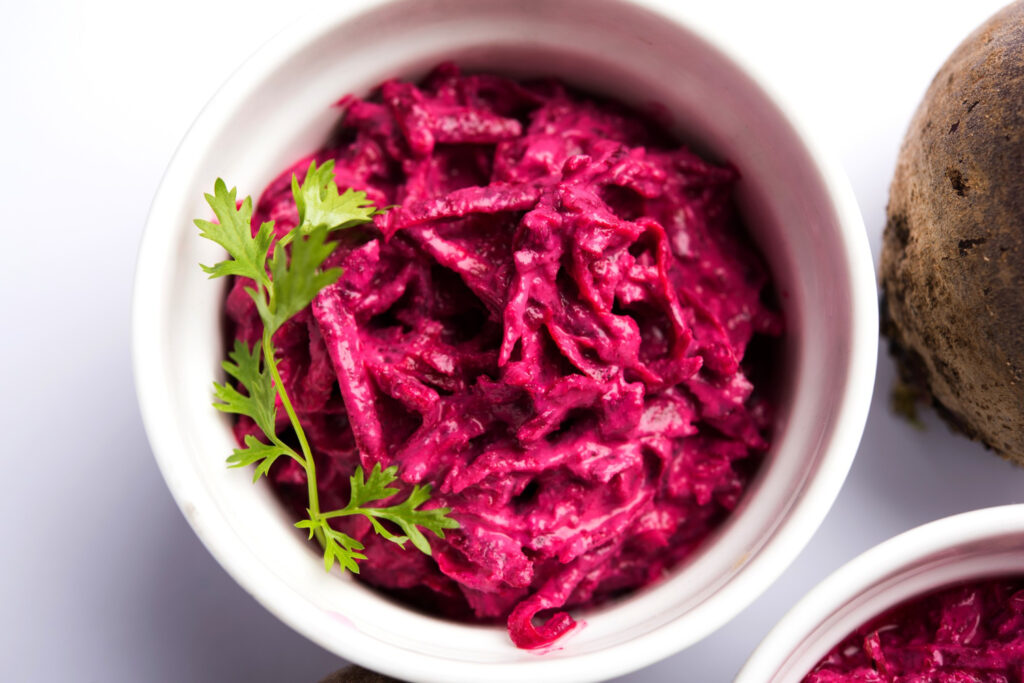
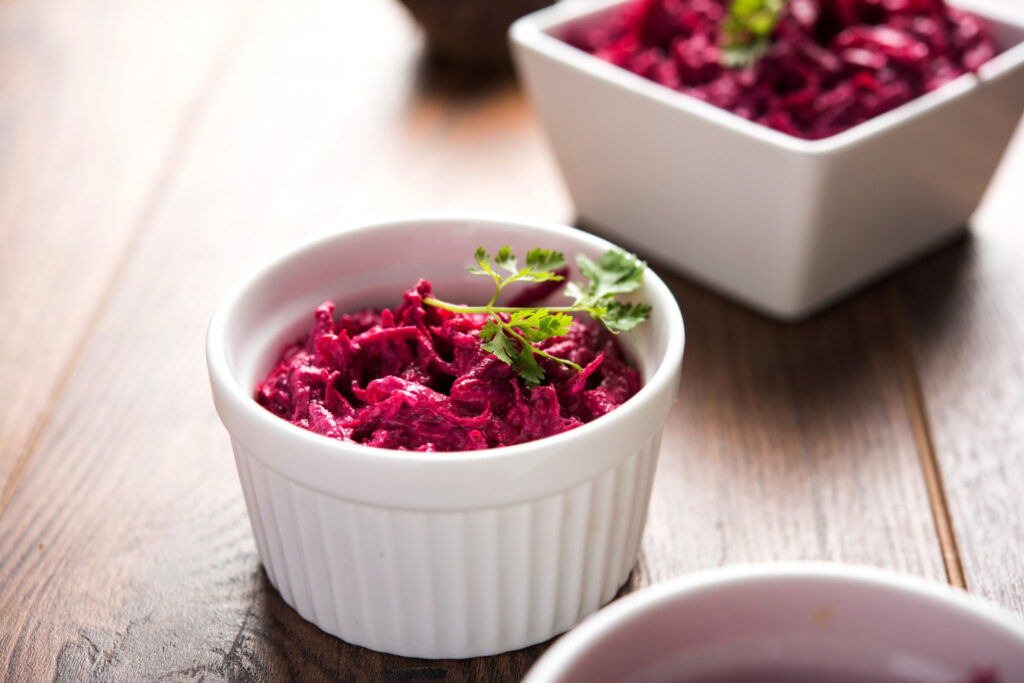
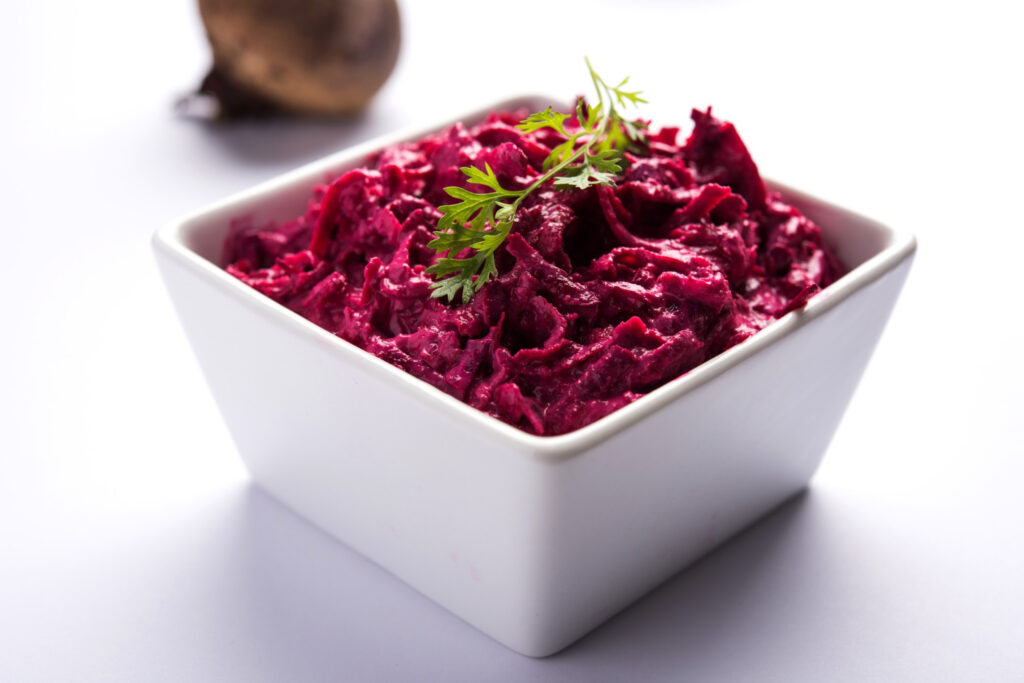
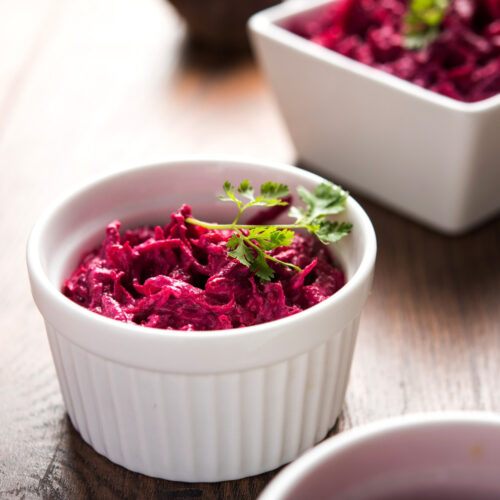
Beetroot Raita is simply yogurt mixed with grated steamed beetroots, plus a few spices. It is a versatile side dish which can be accompanied in any meal. It’s not just tasty, it’s really good for you too! Beetroots are full of antioxidants and fiber, which help keep us healthy. And when we mix them with yogurt, it gives us even more good stuff because yogurt has probiotics, which are like tiny superheroes for our tummies.
When I was younger, I wasn’t a fan of beetroots because they tasted too earthy to me. But then, a friend suggested making this raita using steamed beetroots, and I’ve been hooked ever since! When you boil the beetroots, they become sweeter, and this sweetness perfectly balances the tanginess of the yogurt. Let me share with you my tried-and-tested recipe for beetroot raita that I’ve perfected over the years.
Ingredients
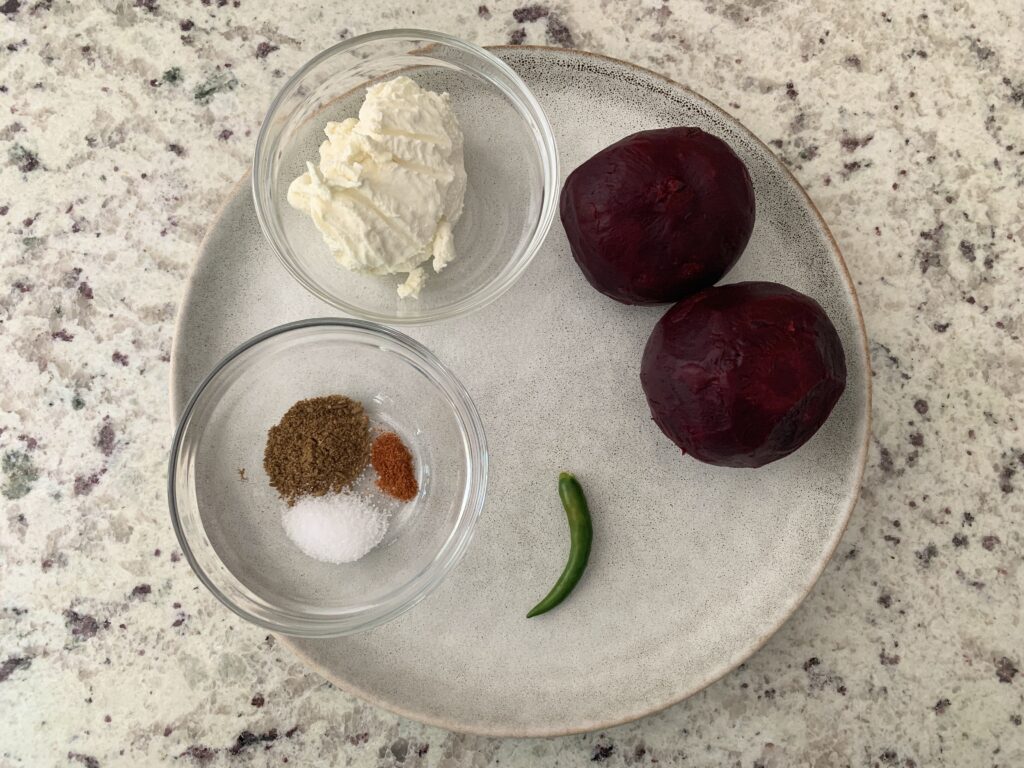
Beetroot, thick yogurt, green chili, red chili powder, roasted cumin powder, salt, fresh coriander leaves.
Recipe Instructions
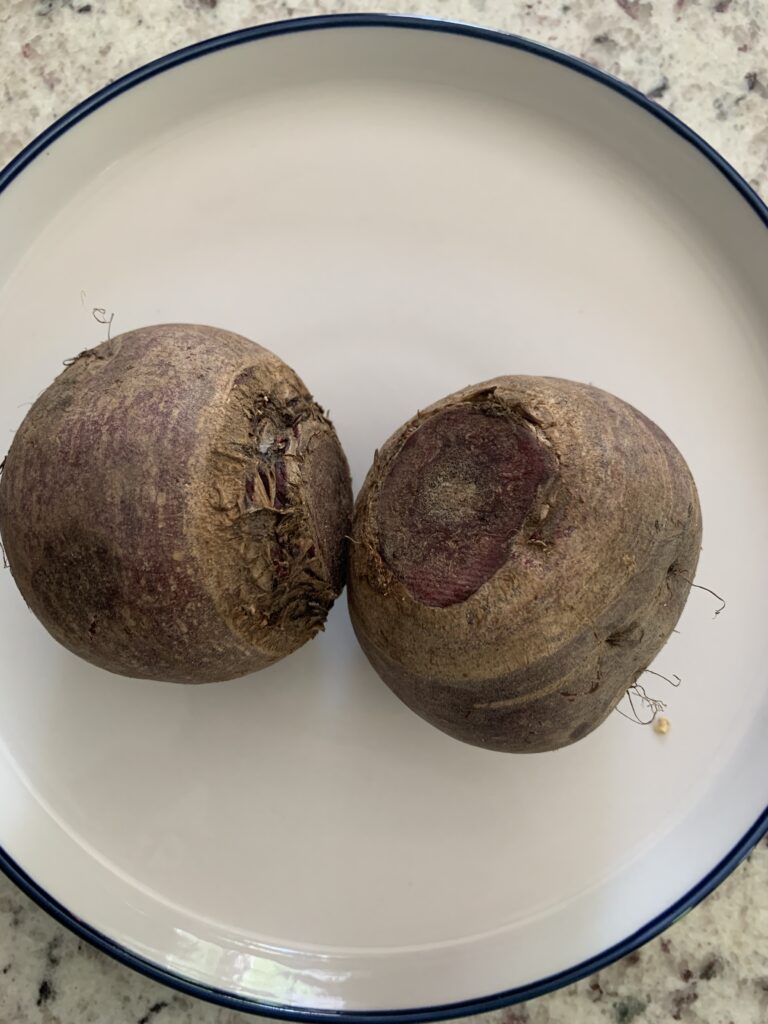
- Begin by boiling the beetroot until it’s tender. Once cooked, allow it to cool down, then peel and grate it.
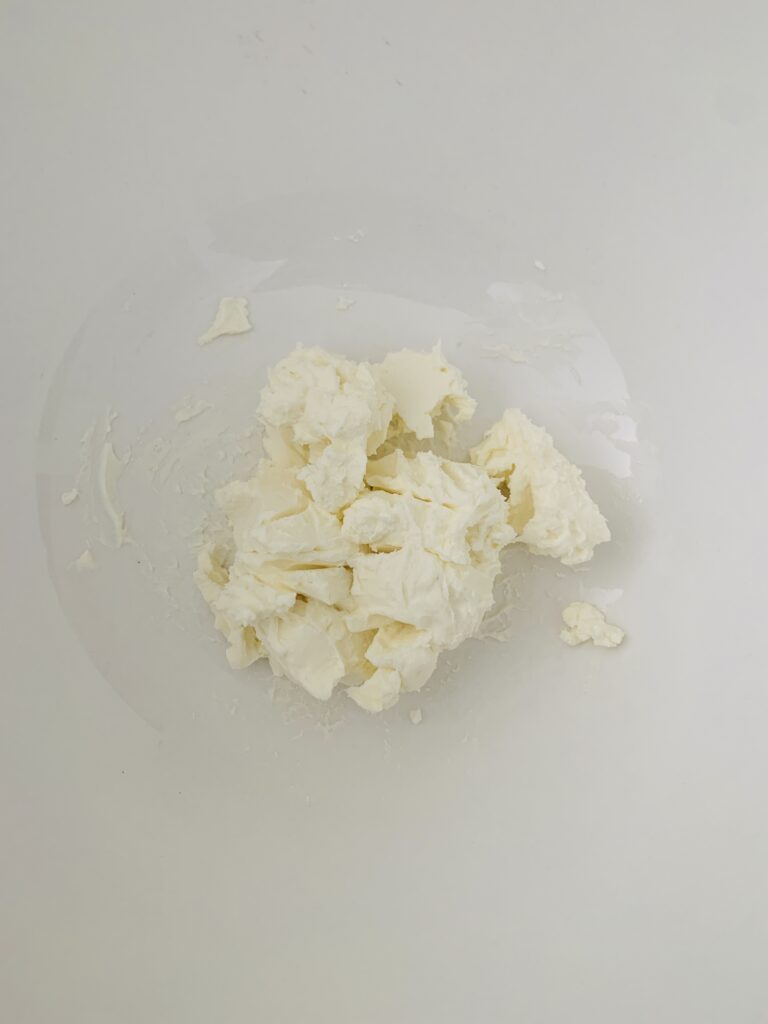
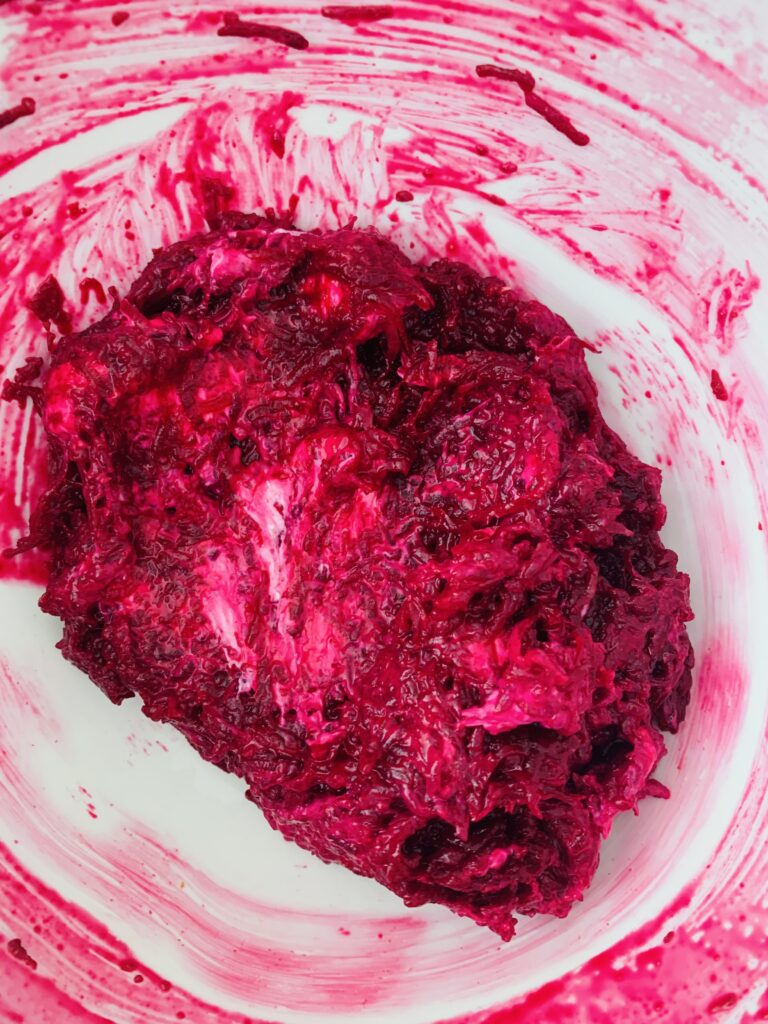
- In a mixing bowl, whisk the yogurt until it’s smooth and creamy.
- Add the grated beetroot, green chili (if using), roasted cumin powder, red chili powder and salt to the yogurt. Mix well until everything is evenly combined.
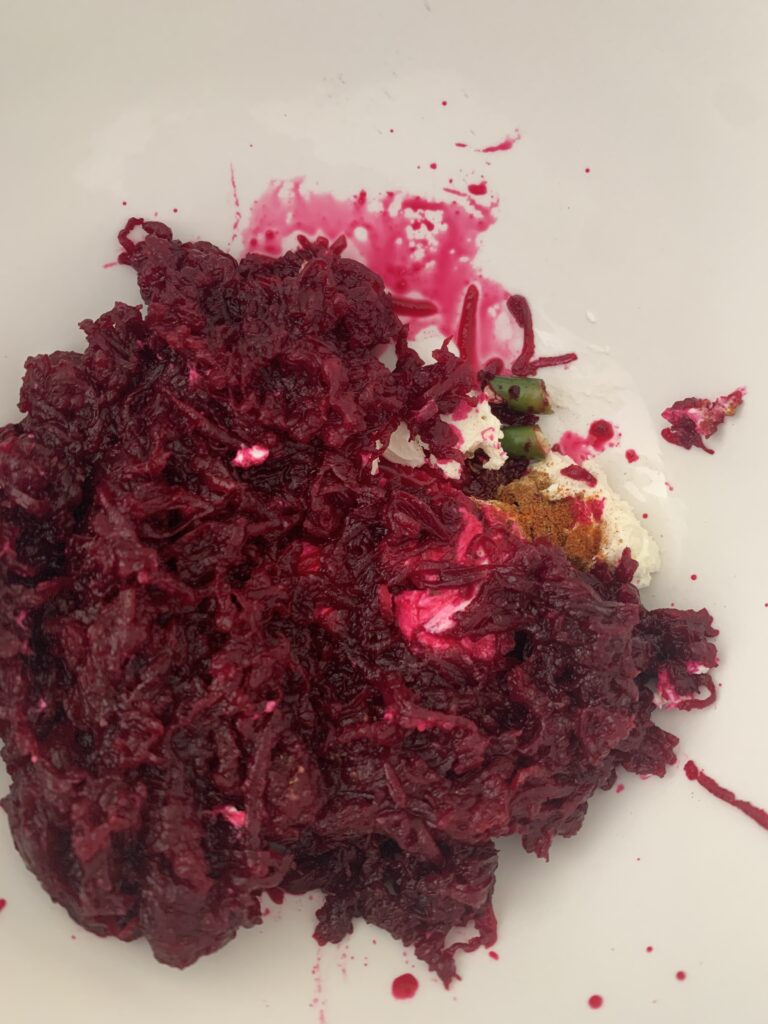
- Garnish with chopped coriander leaves and a sprinkle of red chili powder for an extra kick.
- Refrigerate the raita for at least 30 minutes before serving.
- Serve chilled as a refreshing side dish to your favorite main course or as a dip with crunchy snacks.
Serving Suggestions
- Beetroot Raita pairs best alongside your favorite main dishes such as biryani, pulao, or any curry or even with parathas like palak paratha, keema paratha.
- You may use Beetroot Raita as a delicious dip for snacks like pita chips, vegetable sticks, or crispy papadums.
- Spread Beetroot Raita on a tortilla or flatbread and add grilled vegetables, paneer or chicken for a flavorful and nutritious kathi roll.
- You can also drizzle Beetroot Raita over a mixed green salad or a roasted vegetable salad for a creamy and tangy dressing alternative.
- You may also add a dollop of Beetroot Raita to your veggie or meat burgers for a burst of flavor and moisture.
- Beetroot Raita also pairs best with grilled meats such as kebabs, tandoori chicken, or lamb chops for a cooling and flavorful accompaniment.
Tips and Tricks
- For a creamier texture, you can strain the yogurt using a cheesecloth or muslin cloth before mixing in the other ingredients.
- Adjust the amount of green chili according to your spice preference.
- Be sure to use thick yogurt to achieve the right consistency for the raita.
- To save time, you can use pre-cooked or canned beetroot, but fresh is always best if available.
- Feel free to customize the recipe by adding other veggies like grated carrots or chopped tomatoes.
Meal Prep Tip
- To prep for a weeknight lunch or dinner, you can boil and grate the beetroots in advance, and store them in an airtight container in the refrigerator. This way, when you’re ready to make the raita, all you need to do is mix the ingredients together with yogurt, saving you time and effort.
- Beetroot Raita keeps well in the refrigerator for a few days, so consider making a larger batch to enjoy throughout the week. Store it in a sealed container and portion it out into smaller servings for easy grab-and-go snacks or side dishes for your meals.
- If you’re meal prepping for individual servings, consider keeping the yogurt and grated beetroot separate until serving. Portion out the desired amount of yogurt into small containers and add the grated beetroot just before eating to maintain freshness and prevent the raita from becoming too watery.
FAQs
Q: Can I make Beetroot Raita in advance?
A: Absolutely! Beetroot Raita can be prepared a few hours ahead of time and stored in the refrigerator until serving.
Q: Can I use plain yogurt instead of Greek yogurt?
A: Yes, plain yogurt will work just fine. However, Greek yogurt tends to be thicker and creamier, which can enhance the texture of the raita.
Q: Can I skip the green chili?
A: Of course! The green chili is optional and can be omitted if you prefer a milder flavor.
Beetroot Raita | Chukandar Raita
Ingredients
- 1 medium-sized beetroot
- 1 cup thick yogurt Greek yogurt works well
- 1 green chili finely chopped (optional)
- A pinch of red chili powder optional
- 1 teaspoon roasted cumin powder
- Salt to taste
- A handful of fresh coriander leaves chopped
Instructions
- Begin by boiling the beetroot until it’s tender. Once cooked, allow it to cool down, then peel and grate it.
- In a mixing bowl, whisk the yogurt until it’s smooth and creamy.
- Add the grated beetroot, green chili (if using), roasted cumin powder, red chili powder and salt to the yogurt. Mix well until everything is evenly combined.
- Garnish with chopped coriander leaves and a sprinkle of red chili powder for an extra kick.
- Refrigerate the raita for at least 30 minutes before serving.
- Serve chilled as a refreshing side dish to your favorite main course or as a dip with crunchy snacks.
Notes
-
- Beetroot Raita pairs best alongside your favorite main dishes such as biryani, pulao, or any curry or even with parathas like palak paratha, keema paratha.
- You may use Beetroot Raita as a delicious dip for snacks like pita chips, vegetable sticks, or crispy papadums.
- Spread Beetroot Raita on a tortilla or flatbread and add grilled vegetables, paneer or chicken for a flavorful and nutritious kathi roll.
- You can also drizzle Beetroot Raita over a mixed green salad or a roasted vegetable salad for a creamy and tangy dressing alternative.
- You may also add a dollop of Beetroot Raita to your veggie or meat burgers for a burst of flavor and moisture.
- Beetroot Raita also pairs best with grilled meats such as kebabs, tandoori chicken, or lamb chops for a cooling and flavorful accompaniment.
- For a creamier texture, you can strain the yogurt using a cheesecloth or muslin cloth before mixing in the other ingredients.
- Adjust the amount of green chili according to your spice preference.
- Be sure to use thick yogurt to achieve the right consistency for the raita.
- To save time, you can use pre-cooked or canned beetroot, but fresh is always best if available.
- Feel free to customize the recipe by adding other veggies like grated carrots or chopped tomatoes.
-
-
- To prep for a weeknight lunch or dinner, you can boil and grate the beetroots in advance, and store them in an airtight container in the refrigerator. This way, when you’re ready to make the raita, all you need to do is mix the ingredients together with yogurt, saving you time and effort.
- Beetroot Raita keeps well in the refrigerator for a few days, so consider making a larger batch to enjoy throughout the week. Store it in a sealed container and portion it out into smaller servings for easy grab-and-go snacks or side dishes for your meals.
- If you’re meal prepping for individual servings, consider keeping the yogurt and grated beetroot separate until serving. Portion out the desired amount of yogurt into small containers and add the grated beetroot just before eating to maintain freshness and prevent the raita from becoming too watery.
Did you make this recipe?
Please let me know how it turned out for you! Leave a comment below and tag @amusingcooker on Instagram and hashtag it #amusingcooker.